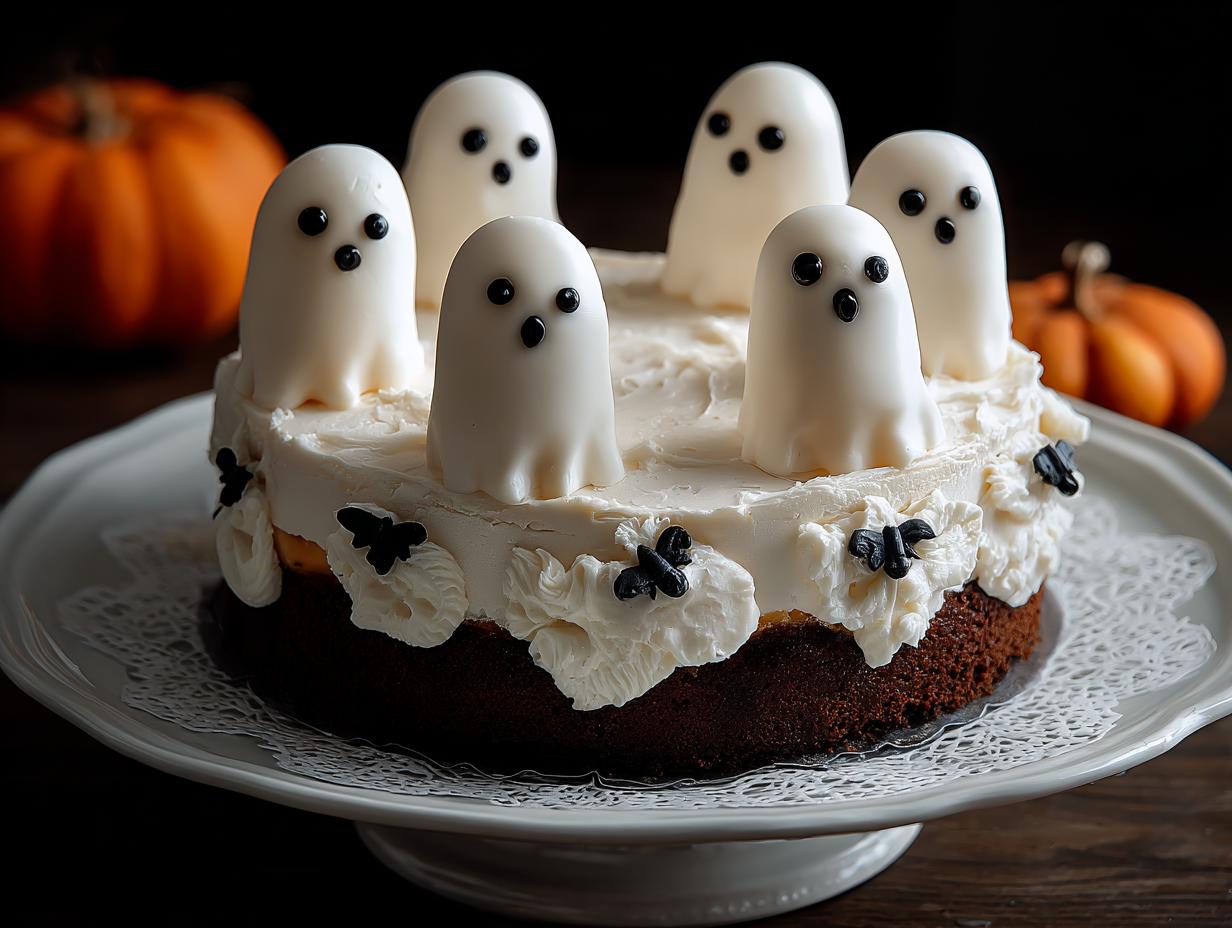
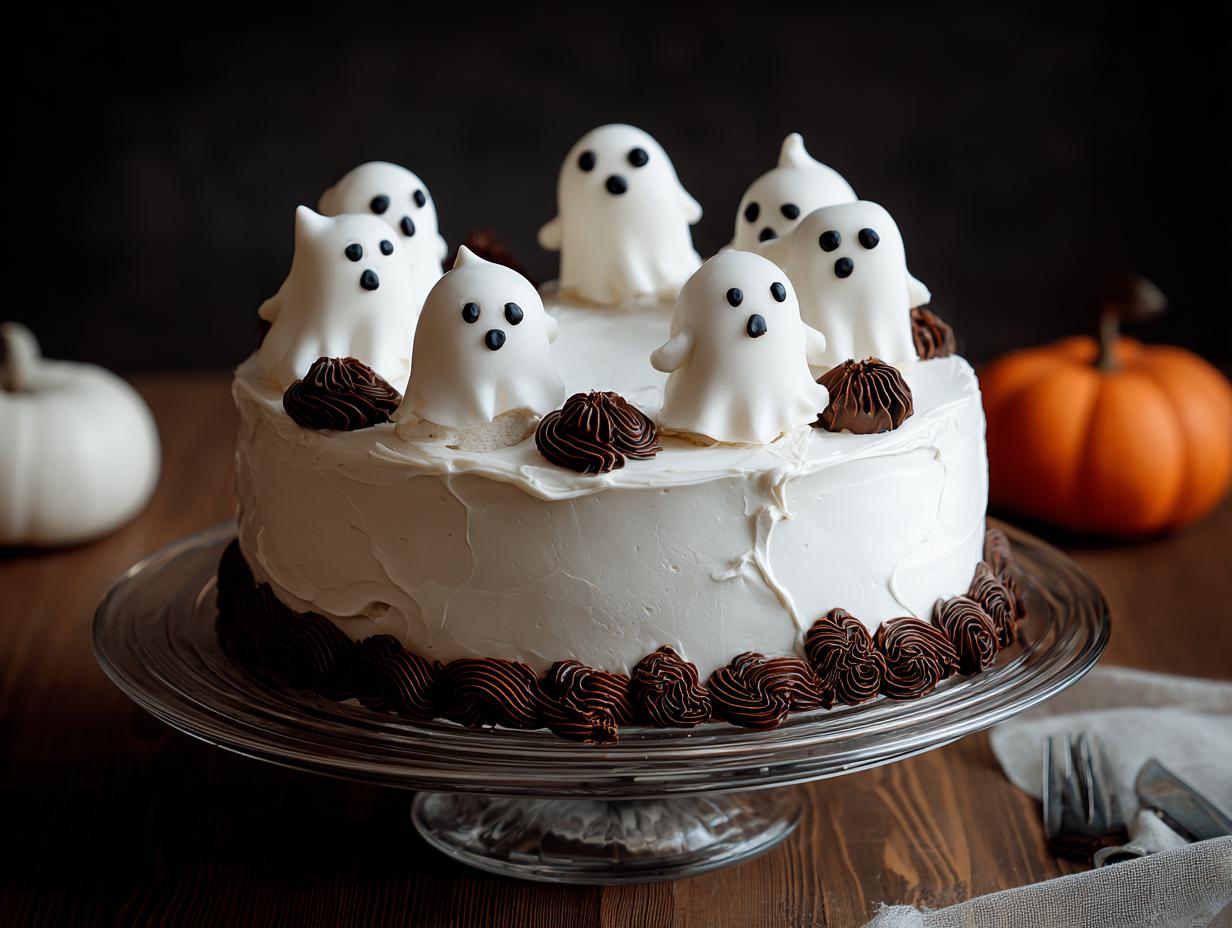
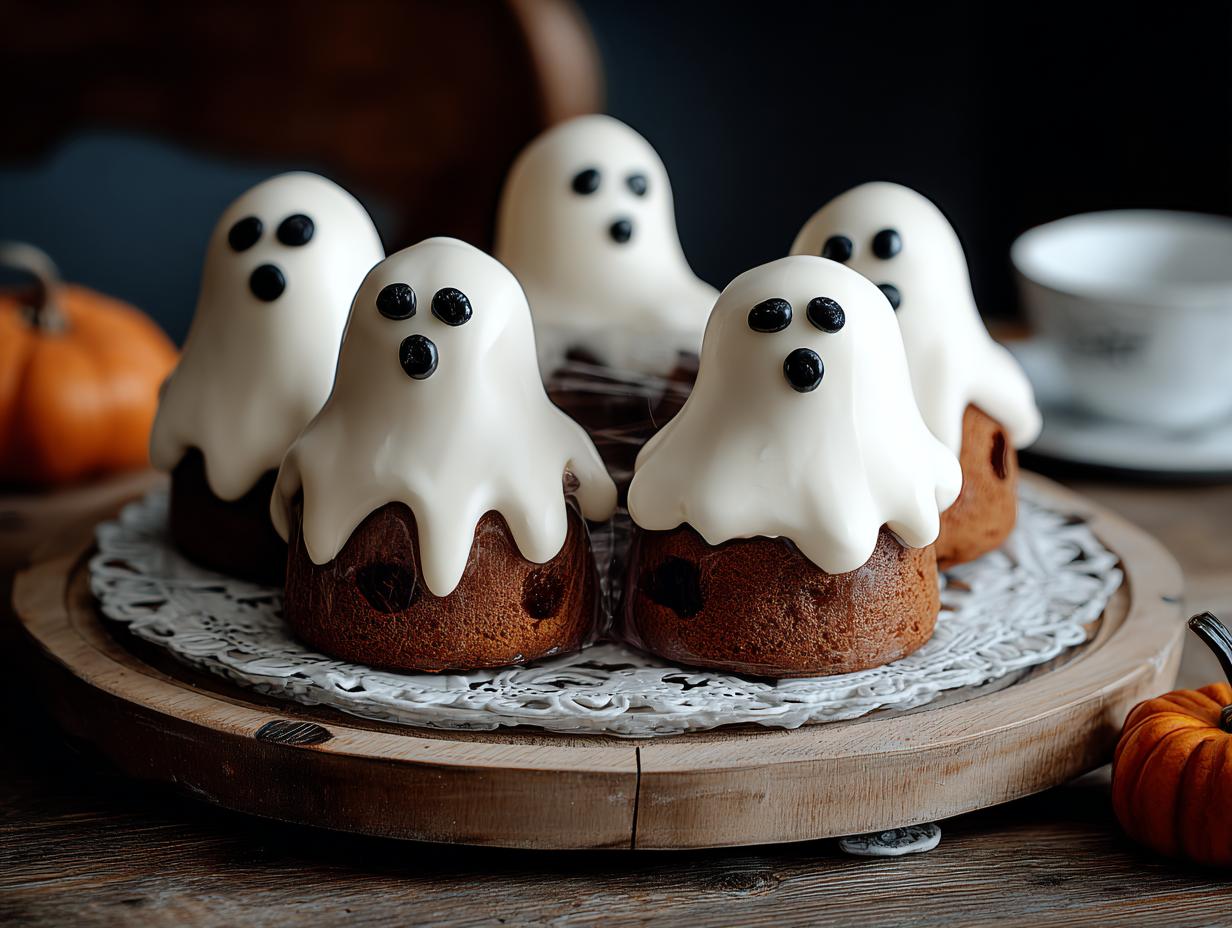
Ghost Cake has become my absolute favorite centerpiece for any Halloween party, and I know you’ll feel the same way! I still remember the first time I saw one of these playful desserts; it was at my cousin’s house, and the perfectly smooth white frosting with those big, friendly ghost eyes just made me smile. The anticipation of that first bite, knowing it was going to be a moist, vanilla-infused delight, was almost unbearable! Crafting this Halloween ghost cake is surprisingly simple, and the result is always a showstopper. Get ready to create some spooky, sweet magic – let’s get baking!
Why You’ll Love This Ghost Cake
This dessert is an absolute winner for so many reasons:
- It’s incredibly moist and flavorful, making every bite a delight.
- The creamy, smooth white frosting is a dream to work with.
- It’s surprisingly easy to assemble, making it a perfect easy ghost cake for beginners.
- The playful ghost design is universally loved and super photogenic.
- It’s a fantastic way to add a spooky yet charming touch to your Halloween spread.
- This cute ghost cake is guaranteed to bring smiles to faces of all ages.
- You can customize the decorations with various ghost styles and expressions.
- It’s the perfect centerpiece for any Halloween party or family gathering.
Ingredients for Your Ghost Cake Recipe
Gathering these ingredients is the first step to an amazing ghost cake! For the cake itself, you’ll need 2 ½ cups all-purpose flour, 2 ½ teaspoons baking powder, ½ teaspoon baking soda, and 1 teaspoon salt to create that perfect texture. You’ll also need 1 cup unsalted butter (at room temperature), which makes it much easier to cream, and 1 ¾ cups granulated sugar for sweetness. Four large eggs and 1 tablespoon vanilla extract add richness and flavor. Finally, 1 cup whole milk or buttermilk ensures a moist crumb. For the glorious ghost cake with buttercream frosting, grab 1 cup unsalted butter (softened), 3–4 cups powdered sugar (sifted) for smoothness, 2 teaspoons vanilla extract, 2–3 tablespoons heavy cream or milk for consistency, and a pinch of salt to balance the sweetness.
How to Make a Ghost Cake
Follow these simple steps for a spooky and delicious Halloween treat. This ghost cake recipe is straightforward, even for beginners!
- Step 1: Preheat your oven to 350°F (175°C). Prepare two 6-inch or 8-inch cake pans by greasing them thoroughly and lining the bottoms with parchment paper. This simple step ensures your cake layers won’t stick, making the whole process smoother.
- Step 2: In a medium bowl, whisk together 2 ½ cups all-purpose flour, 2 ½ teaspoons baking powder, ½ teaspoon baking soda, and 1 teaspoon salt. This dry mixture forms the base of our cake, providing structure and leavening.
- Step 3: Grab a large bowl and use an electric mixer to beat 1 cup unsalted butter (at room temperature) until it’s nice and creamy. Gradually add 1 ¾ cups granulated sugar, beating until the mixture is light and fluffy. You’ll notice it becomes pale and airy – that’s what we’re looking for!
- Step 4: Add the 4 large eggs one at a time, beating well after each addition. This helps to emulsify the batter and create a tender crumb. Mix in 1 tablespoon vanilla extract for that classic, comforting flavor.
- Step 5: Now, it’s time to combine the wet and dry ingredients. Add the flour mixture to the butter mixture in three parts, alternating with 1 cup whole milk or buttermilk. Be sure to begin and end with the flour mixture. Mix until just combined; overmixing can lead to a tough cake.
- Step 6: Divide the batter evenly between your prepared cake pans. Bake for about 25–30 minutes, or until a toothpick inserted into the center of each cake comes out clean. The aroma filling your kitchen will be heavenly! Let the cakes cool in the pans for about 10 minutes before inverting them onto a wire rack to cool completely.

Preparing the Ghostly Frosting
- Step 7: While the cakes cool, prepare the frosting. In a clean bowl, beat 1 cup unsalted butter (softened) until it’s wonderfully fluffy. Gradually add 3–4 cups powdered sugar (sifted), 2 teaspoons vanilla extract, and a pinch of salt. Add 2–3 tablespoons heavy cream or milk, one tablespoon at a time, until the frosting is smooth, creamy, and perfectly spreadable. This is key for achieving that flawless white ghost cake frosting.
Assembling and Decorating the Ghost Cake
- Step 8: Once the cake layers are completely cool, it’s time to assemble. Place one cake layer on your serving plate or cake stand. Spread a generous layer of frosting over the top. Carefully place the second cake layer on top.
- Step 9: Frost the entire cake with a thick, smooth layer of your white buttercream. Use an offset spatula to get those sides looking neat and tidy. This smooth white coating is the perfect canvas for our ghostly friends.
- Step 10: Now for the fun part – decorating! Arrange mini meringue or fondant ghosts around the cake. Use black edible gel or candy eyes to give your ghosts personality by adding eyes and mouths. This is where your creativity shines! For an even simpler approach, you can pipe small dollops of frosting into ghost shapes. This simple ghost cake tutorial makes decorating accessible for everyone.
- Step 11: For the best results, chill the decorated cake in the refrigerator for at least 20 minutes before serving. This helps the frosting set and makes slicing much cleaner. Enjoy your beautifully decorated Halloween ghost cake!

Pro Tips for the Best Ghost Cake Design
Elevating your ghost cake from good to ghoulishly great is all about a few key techniques. Always start with room temperature ingredients for your cake layers; this ensures a smooth batter and a tender crumb, essential for a delightful dessert. When frosting, don’t rush! A chilled cake makes it easier to achieve that perfectly smooth white canvas. For the ghost decorations, consider using different sizes of meringue or fondant ghosts to create a lively scene.
What’s the secret to perfect white ghost cake frosting?
The secret to flawless white ghost cake frosting is using sifted powdered sugar and ensuring your butter is properly softened, not melted. Creaming them together until very light and fluffy, then adding a touch of cream or milk gradually, creates that smooth, spreadable perfection. These ghost cake decorating tips really make a difference. For more baking advice, check out our recipes section.
Can I make this Halloween ghost cake ahead of time?
Yes! You can bake the cake layers up to two days in advance and store them tightly wrapped at room temperature. Frost and decorate the cake the day before your Halloween party. This Halloween ghost cake holds up beautifully when prepared this way, saving you stress on the big day. Learn more about our baking philosophy.
How do I avoid common mistakes when decorating a ghost cake?
A common pitfall is frosting a warm cake, which melts the frosting. Always ensure your cake layers are completely cool before frosting. Another mistake is overworking the buttercream, which can make it stiff. If your frosting gets too firm, gently warm it for a few seconds or add a tiny bit more cream. For more detailed instructions, you can refer to our typography guide for visual clarity.
Best Ways to Serve Your Ghost Cake
This delightful ghost cake is a fantastic centerpiece and pairs wonderfully with a variety of Halloween treats. For a truly festive spread, consider serving slices alongside a bowl of spooky orange sherbet or some rich chocolate pudding. It’s also a perfect addition to a dessert table at a Halloween party for kids, where its playful design is sure to be a hit. You can even serve small, individual ghost cupcakes alongside the main cake for extra spooky fun! Visit our homepage for more festive ideas.
Nutrition Facts for Ghost Cake
Here’s a general nutritional breakdown for a slice of this delightful Ghost Cake. Keep in mind that these are estimates and can vary based on the specific ingredients and portion sizes used.
- Serving Size: 1 slice
- Calories: 350
- Fat: 18g
- Saturated Fat: 11g
- Protein: 4g
- Carbohydrates: 45g
- Fiber: 1g
- Sugar: 30g
- Sodium: 250mg
Nutritional values are estimates and may vary based on specific ingredients used. For more information on our data sources, please see our privacy policy.
How to Store and Reheat Your Ghost Cake
Properly storing your beautifully decorated ghost cake ensures it stays fresh and delicious for your guests. After baking, always allow the cake layers to cool completely on a wire rack before frosting. Once assembled and decorated, cover the cake tightly with plastic wrap or store it in an airtight cake container. This keeps the moisture in and prevents the frosting from drying out. For the best results and to maintain that perfect ghost cake for kids, refrigerate the cake for up to 3-4 days. If you need to store it for longer, unfrosted cake layers can be wrapped tightly in plastic wrap, then foil, and frozen for up to 3 months. Thaw frozen layers overnight in the refrigerator before frosting and decorating.
Frequently Asked Questions About Ghost Cakes
What are the best ghost cake ideas for a spooky Halloween party?
For a truly spooky vibe, consider making a ghost cake with a dark chocolate cake base and white frosting, giving it a classic haunted look. You can also try a tiered cake with different sizes of ghosts cascading down, or even a sheet cake decorated like a graveyard with ghost-shaped cookies peeking out. Think about adding edible glitter for a spectral shimmer!
How do I make a ghost cake if I’m a beginner baker?
Don’t worry, how to make a ghost cake is simpler than it looks! Start with a reliable cake recipe like the one above, focusing on achieving a moist crumb. For decorating, instead of complex piping, use mini marshmallows or fondant cut into ghost shapes. A smooth white frosting base is key, and then just add simple black edible eyes. It’s a very forgiving design!
Can I use different cake flavors for my ghost cake?
Absolutely! While vanilla is classic, a ghost-shaped cake can be made with almost any flavor. Red velvet offers a dramatic contrast with the white frosting, and a chocolate cake is always a crowd-pleaser. You could even try a fun flavor like pumpkin spice or lemon for a unique twist on these popular ghost cake ideas.
What’s the best way to get smooth white ghost cake frosting?
Achieving that smooth, ethereal look for your white ghost cake frosting involves a few tricks. Ensure your butter is perfectly softened, not melted, and sift your powdered sugar to remove any lumps. Beat the butter and sugar until very light and fluffy, then add liquid sparingly. Using an offset spatula and a turntable really helps in smoothing the sides and top evenly before adding your ghostly decorations. For more tips on achieving perfect frosting, you might find information on buttercream frosting helpful.
Variations of Ghost Cake Ideas
Looking to switch things up for your next Halloween bash? This Ghost Cake is incredibly versatile! For a healthier twist, try a ghost-shaped cake made with whole wheat flour and a dairy-free frosting using coconut cream and powdered sugar. If you’re short on time or oven space, consider mini ghost cupcakes – they’re just as adorable and bake much faster. You could also experiment with different cake flavors; a rich chocolate or a vibrant red velvet cake base makes for a striking contrast against the white ghostly frosting. For a truly unique dessert, try a no-bake option using cookies and cream mousse layered in a clear dish and topped with whipped cream ghosts!
Print
Ghost Cake: 2 Simple Steps to Spooky Fun
- Total Time: 1 hour
- Yield: 10–12 slices 1x
- Diet: Vegetarian
Description
This Ghost Cake is the ultimate Halloween dessert centerpiece. With moist cake layers, creamy frosting, and playful ghost decorations, it’s spooky, sweet, and perfect for parties, bake sales, or family fun nights.
Ingredients
- For the Cake:
- 2 ½ cups all-purpose flour
- 2 ½ teaspoons baking powder
- ½ teaspoon baking soda
- 1 teaspoon salt
- 1 cup unsalted butter (room temperature)
- 1 ¾ cups granulated sugar
- 4 large eggs
- 1 tablespoon vanilla extract
- 1 cup whole milk or buttermilk
- For the Frosting:
- 1 cup unsalted butter (softened)
- 3–4 cups powdered sugar (sifted)
- 2 teaspoons vanilla extract
- 2–3 tablespoons heavy cream or milk
- Pinch of salt
- For Decoration:
- Mini meringue or fondant ghosts
- Black edible gel or candy eyes
- Optional: white chocolate shavings or marshmallow fluff
Instructions
- Preheat oven to 350°F (175°C). Grease and line two 6-inch or 8-inch cake pans with parchment paper.
- In a medium bowl, whisk together flour, baking powder, baking soda, and salt.
- In a large bowl, use an electric mixer to beat the butter until creamy. Gradually add sugar and beat until light and fluffy.
- One at a time, beat in the eggs. Mix in vanilla extract.
- Add the flour mixture in three parts, alternating with milk. Begin and end with flour.
- Divide batter evenly between pans and bake for 25–30 minutes, or until a toothpick inserted comes out clean. Let cool completely.
- Make the frosting. Beat the butter until fluffy. Gradually add powdered sugar, vanilla, and a bit of cream until the frosting is smooth and spreadable.
- Assemble the cake. Stack the cooled cake layers with a layer of frosting in between. Frost the entire cake with a thick, smooth layer of white frosting.
- Decorate. Place fondant or meringue ghosts around the cake. Use black gel or edible markers to add ghost eyes and mouths. You can pipe small dollops of frosting into ghost shapes as an alternative.
- Chill and serve. Refrigerate for 20 minutes before serving to help the frosting set.
Notes
- Use room temperature ingredients and avoid overmixing for a moist cake.
- Decorate with fondant ghosts, meringue ghosts, or piped frosting blobs.
- Consider a red velvet, chocolate, or pumpkin spice cake base for a flavor twist.
- Store the cake in the refrigerator for up to 3 days; freeze unfrosted layers up to 2 months.
- Bake cake layers in advance and frost before serving.
- Prep Time: 30 minutes
- Cook Time: 30 minutes
- Category: Dessert
- Method: Baked
- Cuisine: American
Nutrition
- Serving Size: 1 slice
