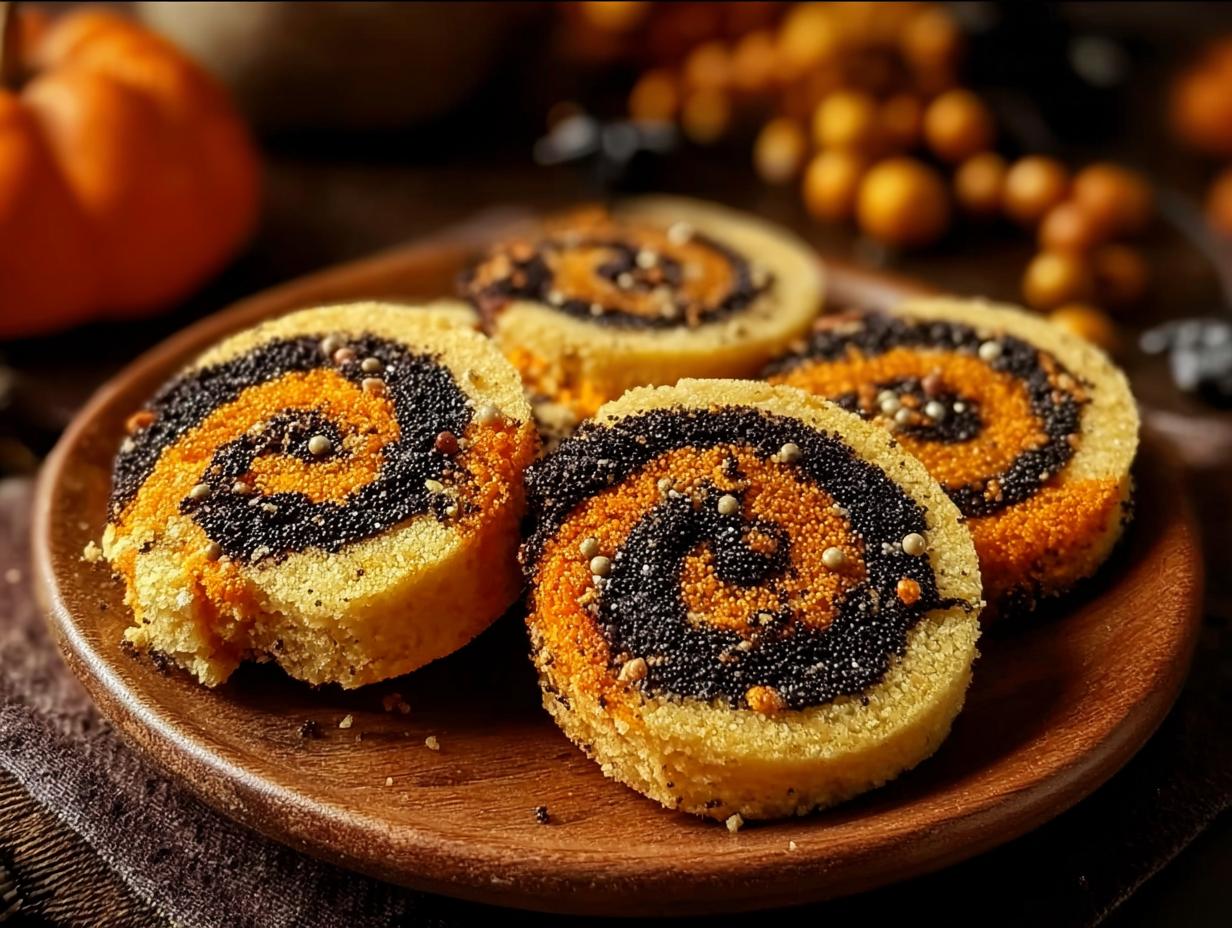
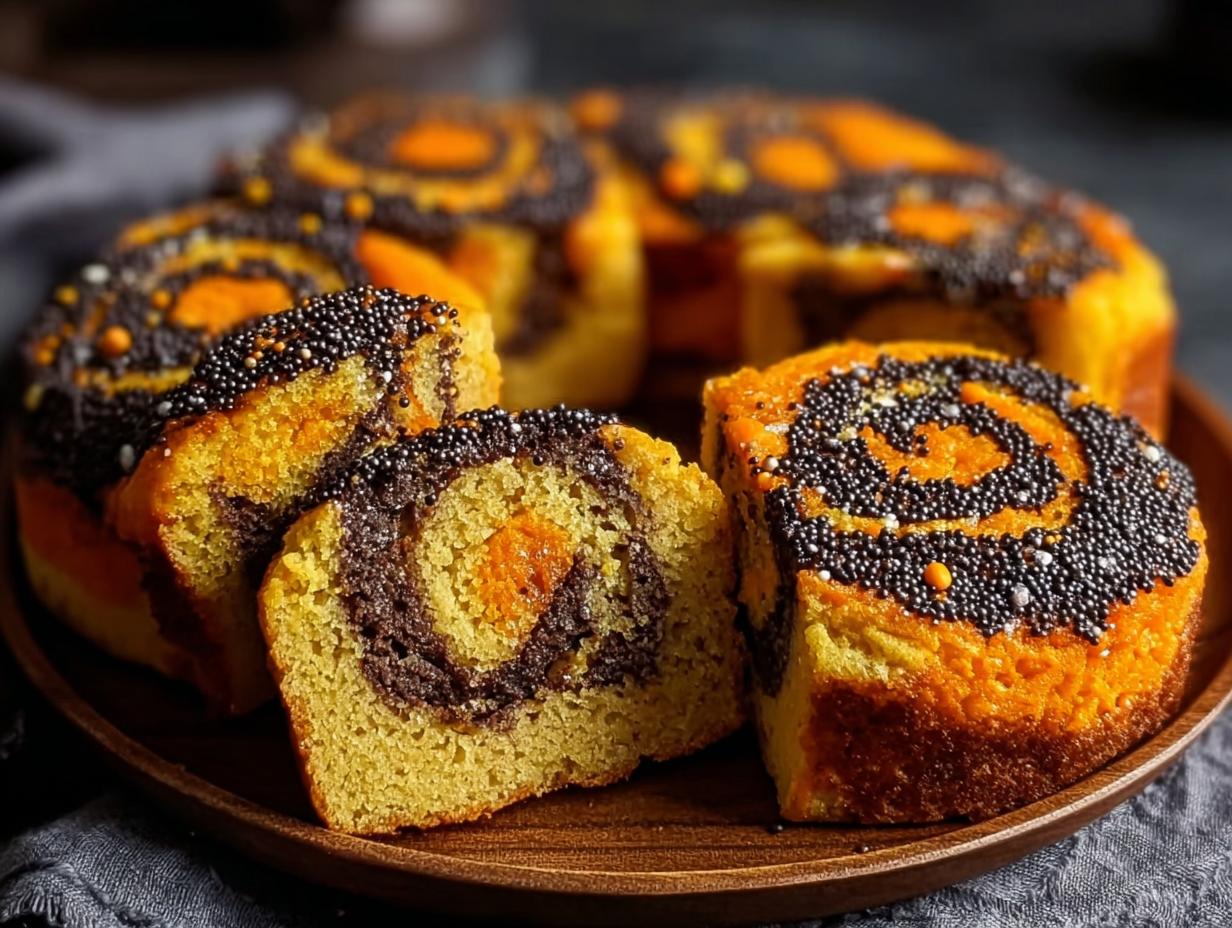
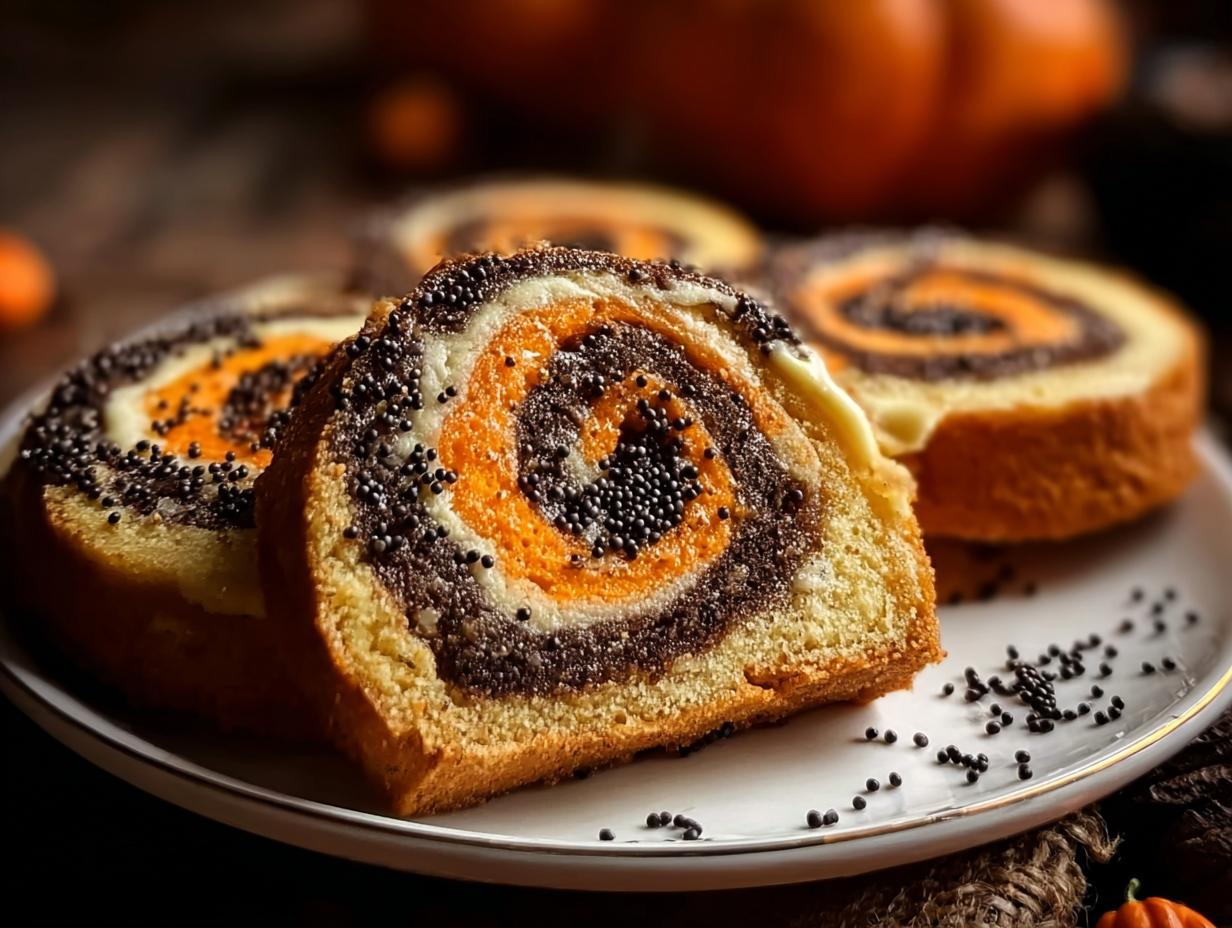
Halloween Pinwheel Cookies have been a staple in my baking repertoire for years, bringing a burst of festive color and delicious buttery flavor to our autumn celebrations. I remember the first time I tried making them; the kitchen filled with the sweet aroma of vanilla and sugar, and the vibrant orange and black dough seemed magical. These aren’t just any cookies; they’re a delightful visual treat with their mesmerizing swirls, making them the perfect centerpiece for any Halloween party. If you’re looking for an easy Halloween pinwheel cookies recipe that’s sure to impress, you’ve come to the right place. Let’s get baking and create some spooky fun!
Why You’ll Love This Halloween Pinwheel Cookie Recipe
Get ready for a baking adventure that’s as fun to make as it is to eat! These cookies are guaranteed to be a hit:
- Spectacular swirls that look incredibly professional, yet are surprisingly easy to achieve.
- A soft, buttery texture that melts in your mouth with every bite.
- They’re the best Halloween pinwheel cookies for parties, bake sales, or just a fun family activity.
- Vibrant colors make them a festive addition to any Halloween treat table.
- This is a truly simple Halloween pinwheel cookies recipe, perfect even for beginner bakers.
- They offer endless customization with different color combinations and sprinkle choices.
- The aroma while baking is absolutely delightful, filling your home with cozy fall scents.
- A homemade treat that’s always better than store-bought!
Ingredients for Homemade Halloween Pinwheel Cookies
Gather these simple ingredients to create your spooktacular Halloween pinwheel cookie dough. The key to their amazing texture and flavor lies in the quality of a few basics. You’ll need 2 ½ cups (300 g) all-purpose flour for structure, plus ½ tsp baking powder and ½ tsp salt to help them rise and enhance flavor. For that signature buttery taste and tender crumb, make sure you have ¾ cup (170 g) unsalted butter, softened. Sweetness comes from 1 cup (200 g) granulated sugar, which also helps with crisp edges. A large egg acts as a binder, and 1 ½ tsp vanilla extract adds a warm, comforting aroma. Don’t forget your favorite gel food coloring – think orange, purple, black, or green – to achieve those vibrant, festive swirls. For an extra touch of fun, have ½ cup Halloween sprinkles on hand if you like to roll the edges.

How to Make Halloween Pinwheel Cookies
Creating these spooky swirls is a fun process that yields impressive results. This Halloween pinwheel cookie tutorial will guide you through each step to achieve perfectly colorful and delicious cookies. Let’s dive into how to make these festive treats!
Step 1: Prepare the Dough Base
First, we’ll combine the dry ingredients. In a medium bowl, whisk together 2 ½ cups (300 g) all-purpose flour, ½ tsp baking powder, and ½ tsp salt. In a larger bowl, beat the ¾ cup (170 g) softened unsalted butter with 1 cup (200 g) granulated sugar until light and fluffy, about 2 minutes. Then, mix in 1 large egg and 1 ½ tsp vanilla extract until everything is well combined.
Step 2: Coloring and Rolling the Dough
Gradually add the dry flour mixture to the wet butter mixture, mixing until the dough just comes together. Divide the dough into two or three equal portions. Tint each portion with your chosen gel food coloring – orange, black, or purple are classic choices! Knead each color lightly until it’s evenly distributed. Then, roll each colored dough between sheets of parchment paper into equal-sized rectangles, about ¼ inch thick.
Step 3: Assembling and Chilling the Pinwheels
Carefully stack the colored dough rectangles on top of each other. Starting from one of the long edges, roll the stack into a tight log, gently peeling back the parchment paper as you go. Once rolled, wrap the log tightly in plastic wrap. For clean slices and defined swirls, it’s crucial to refrigerate this log for at least 2 hours, or even better, overnight. This chilling step makes the dough firm and easy to work with. You can find more baking tips on our recipes page.
Step 4: Slicing and Baking
Preheat your oven to 350°F (175°C) and line a baking sheet with parchment paper. Unwrap the chilled dough log and slice it into ¼-inch thick rounds. If you’re using them, gently roll the edges of the cookie slices in ½ cup Halloween sprinkles for an extra festive touch. Place the cookie slices on the prepared baking sheet, spacing them about 2 inches apart. Bake for 9–11 minutes, or until the edges are set but not yet browned. The aroma will be wonderfully sweet! For more information on baking techniques, check out our about section.

Pro Tips for the Best Halloween Pinwheel Cookies
Want to elevate your cookie game? These tips will ensure your Halloween pinwheel cookies are not only delicious but also stunningly beautiful:
- Always use gel food coloring; liquid versions can alter the dough consistency.
- Chilling the dough log is non-negotiable for sharp, clean swirls and easy slicing.
- Work with one color at a time if the dough starts to soften, returning it to the fridge as needed.
- Don’t overbake! The cookies should look set but not browned for that perfect soft texture.
What’s the secret to perfect Halloween pinwheel cookie swirls?
The key to those perfectly sharp spooky swirl cookies Halloween designs is a well-chilled dough and careful rolling. Ensure your dough logs are tightly rolled without air pockets. Slicing them cold with a sharp knife is crucial for maintaining those defined layers and vibrant colors. Understanding the science behind baking can help improve your results; learn more about baking science.
Can I make Halloween pinwheel cookie dough ahead of time?
Absolutely! The Halloween pinwheel cookie dough can be made up to 2 days in advance and refrigerated in its log form. This actually makes it easier to slice and bake when you’re ready, ensuring a smooth process. For more details on making recipes ahead, visit our contact page.
How do I avoid common mistakes with Halloween pinwheel cookies?
The most common pitfalls involve dough that’s too warm, leading to smudged swirls and difficult slicing. If your dough softens, pop it back in the fridge. Also, be sure to roll the dough evenly to ensure consistent pinwheel shapes. Don’t be afraid to trim the ends of the log for a cleaner presentation. For more baking advice, consider our about me section.
Spooky Pinwheel Cookie Designs for Halloween
Beyond the classic orange and black swirls, these Halloween pinwheel cookies offer a canvas for your creativity! Imagine crafting delicate ghost pinwheel cookies Halloween by using white and black dough, forming subtle, eerie shapes. For a cheerful vibe, try creating pumpkin pinwheel cookies Halloween with vibrant orange and green dough layers, mimicking pumpkin stripes. You can also play with complementary colors like purple and yellow for a vibrant, unexpected look. The beauty of these orange and black pinwheel cookies is their versatility, allowing for endless spooky and festive combinations tailored to your Halloween theme!
Nutrition Facts for Halloween Pinwheel Cookies
Per serving (recipe makes 24 cookies):
- Calories: 150
- Fat: 8g
- Saturated Fat: 5g
- Protein: 2g
- Carbohydrates: 18g
- Fiber: 1g
- Sugar: 10g
- Sodium: 80mg
Nutritional values are estimates and may vary based on specific ingredients used.
How to Store and Reheat Festive Pinwheel Cookies Halloween
Once your delicious Halloween pinwheel cookies are completely cool, storing them properly is key to keeping them fresh and delightful. I like to let them cool on a wire rack for at least 15-20 minutes to ensure they aren’t warm at all. Then, I place them in an airtight container. For short-term storage, these cookies will stay wonderfully fresh in the refrigerator for about 3 to 4 days, maintaining their buttery texture. If you need to keep your Halloween pinwheel cookie recipe creations for longer, they freeze beautifully. Wrap them well in plastic wrap, then in a layer of foil, and pop them in the freezer for up to 3 months.
When you’re ready to enjoy your frozen treats, you can thaw them overnight in the refrigerator. If they seem a little soft after thawing, you can reheat them gently in a 300°F (150°C) oven for about 3-5 minutes to bring back a slight crispness. This makes them taste almost as fresh as the day they were baked!
Frequently Asked Questions About Halloween Pinwheel Cookies
What are Halloween pinwheel cookies?
Halloween pinwheel cookies are delightful, buttery sugar cookies that get their name from their signature swirled design. This recipe uses multiple colors of cookie dough layered and rolled together to create a pinwheel or spiral effect when sliced and baked. They’re a festive way to celebrate Halloween, offering both a fun visual and a delicious treat.
Are these Halloween pinwheel cookies easy to make?
Yes, this is an easy Halloween pinwheel cookies recipe designed for bakers of all skill levels! While they look impressive, the process is straightforward. The key is chilling the dough properly, which makes them much easier to slice and bake. The colorful swirls are achieved by dividing and tinting the dough, then stacking and rolling it into a log.
Can I use different colors for my Halloween pinwheel cookies?
Absolutely! While orange, black, and purple are classic Halloween colors, feel free to get creative. You could use green and white for a ghostly theme, or even a mix of yellow and purple for a vibrant, spooky look. The possibilities are endless, and using gel food coloring ensures vibrant hues without altering the dough consistency.
How do I get clean slices for my Halloween pinwheel cookies?
The secret to clean slices for your Halloween pinwheel cookies is ensuring the dough log is thoroughly chilled. Refrigerating it for at least 2 hours, or preferably overnight, makes the dough firm enough to slice cleanly with a sharp knife. If the dough starts to soften while you’re working, don’t hesitate to pop it back into the refrigerator for a bit.
Variations of Halloween Pinwheel Cookies
While this classic recipe is fantastic on its own, there are so many fun ways to customize these swirl Halloween cookies! You can easily adapt them to fit specific dietary needs or flavor preferences. For a gluten-free option, simply swap the all-purpose flour for a good quality gluten-free all-purpose blend with xanthan gum. If you’re looking for a dairy-free version, use plant-based butter sticks and a non-dairy milk alternative. You can also experiment with flavors by adding a bit of almond extract alongside the vanilla or incorporating a touch of cinnamon into the dough for a warmer spice. These variations ensure everyone can enjoy a delightful Halloween sugar cookies pinwheel treat, making them perfect for any gathering or holiday cookie exchange!
Print
Spooky Halloween Pinwheel Cookies: 1 Simple Recipe
- Total Time: 2 hours 36 minutes
- Yield: 24 cookies 1x
- Diet: Vegetarian
Description
Create festive and fun Halloween Pinwheel Cookies with this easy recipe. These soft, buttery cookies feature mesmerizing swirls of Halloween colors and are perfect for parties, gifts, or family baking.
Ingredients
- 2 ½ cups (300 g) all-purpose flour
- ½ tsp baking powder
- ½ tsp salt
- ¾ cup (170 g) unsalted butter, softened
- 1 cup (200 g) granulated sugar
- 1 large egg
- 1 ½ tsp vanilla extract
- Gel food coloring (orange, purple, black, or green)
- ½ cup Halloween sprinkles (optional, for rolling edges)
Instructions
- In a medium bowl, whisk together the flour, baking powder, and salt.
- In a large mixing bowl, beat the butter and sugar until light and fluffy, about 2 minutes. Add the egg and vanilla extract; mix until well combined.
- Gradually add the dry mixture to the wet ingredients, mixing just until the dough comes together.
- Split the dough into two or three equal portions, depending on how many colors you’d like to use. Tint each portion with gel food coloring. Knead lightly until the color is evenly distributed.
- Roll each colored dough between sheets of parchment paper into equal-sized rectangles, about ¼ inch thick.
- Carefully stack the colored dough layers on top of each other. Starting from the long edge, roll into a tight log, peeling back the parchment as you go. Wrap the log tightly in plastic wrap.
- Refrigerate for at least 2 hours (or up to overnight) to firm the dough for clean slicing.
- Preheat oven to 350°F (175°C). Slice the dough into ¼-inch rounds. If desired, roll the edges in Halloween sprinkles for extra decoration.
- Place slices on a lined baking sheet, spacing them 2 inches apart.
- Bake for 9–11 minutes, or until the edges are set but not browned.
- Transfer cookies to a wire rack to cool completely before serving.
Notes
- Chill dough thoroughly for neat swirls and easier slicing.
- Use gel food coloring for vibrant, spooky colors.
- Trim edges before rolling for even pinwheels.
- Work quickly; if dough softens, return it to the fridge.
- Prep Time: 25 minutes
- Cook Time: 11 minutes
- Category: Dessert, Cookies
- Method: Baking
- Cuisine: American, Holiday
Nutrition
- Serving Size: 1 cookie
