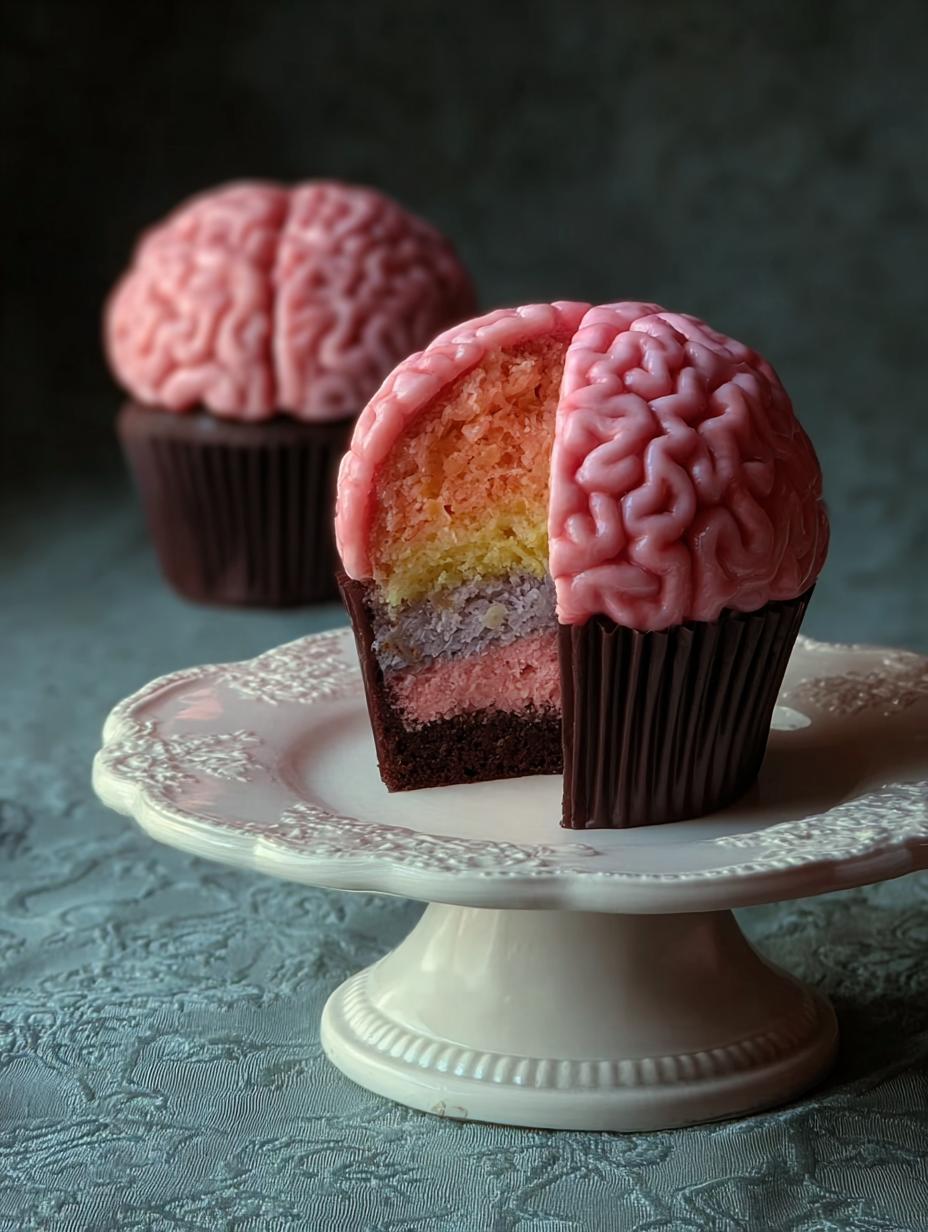
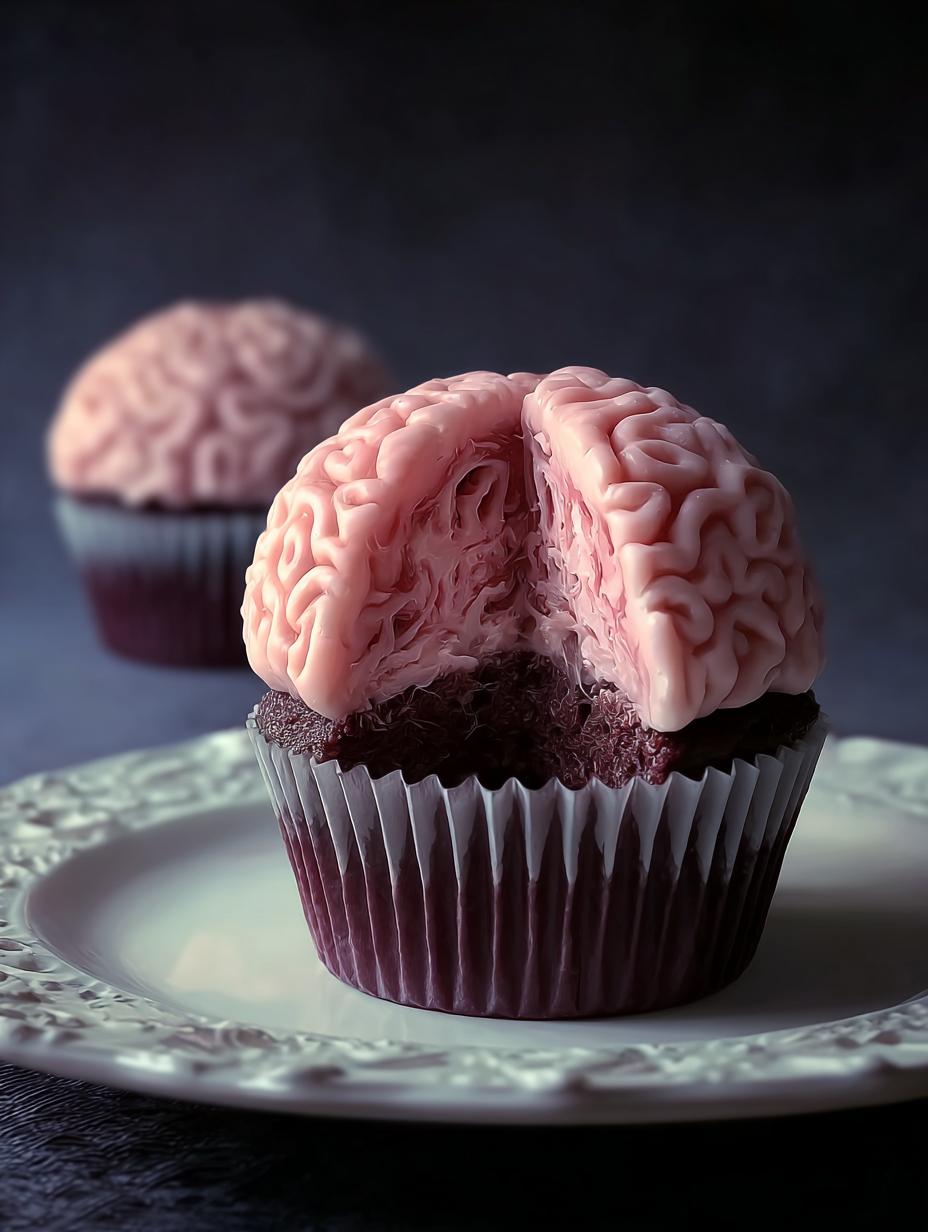
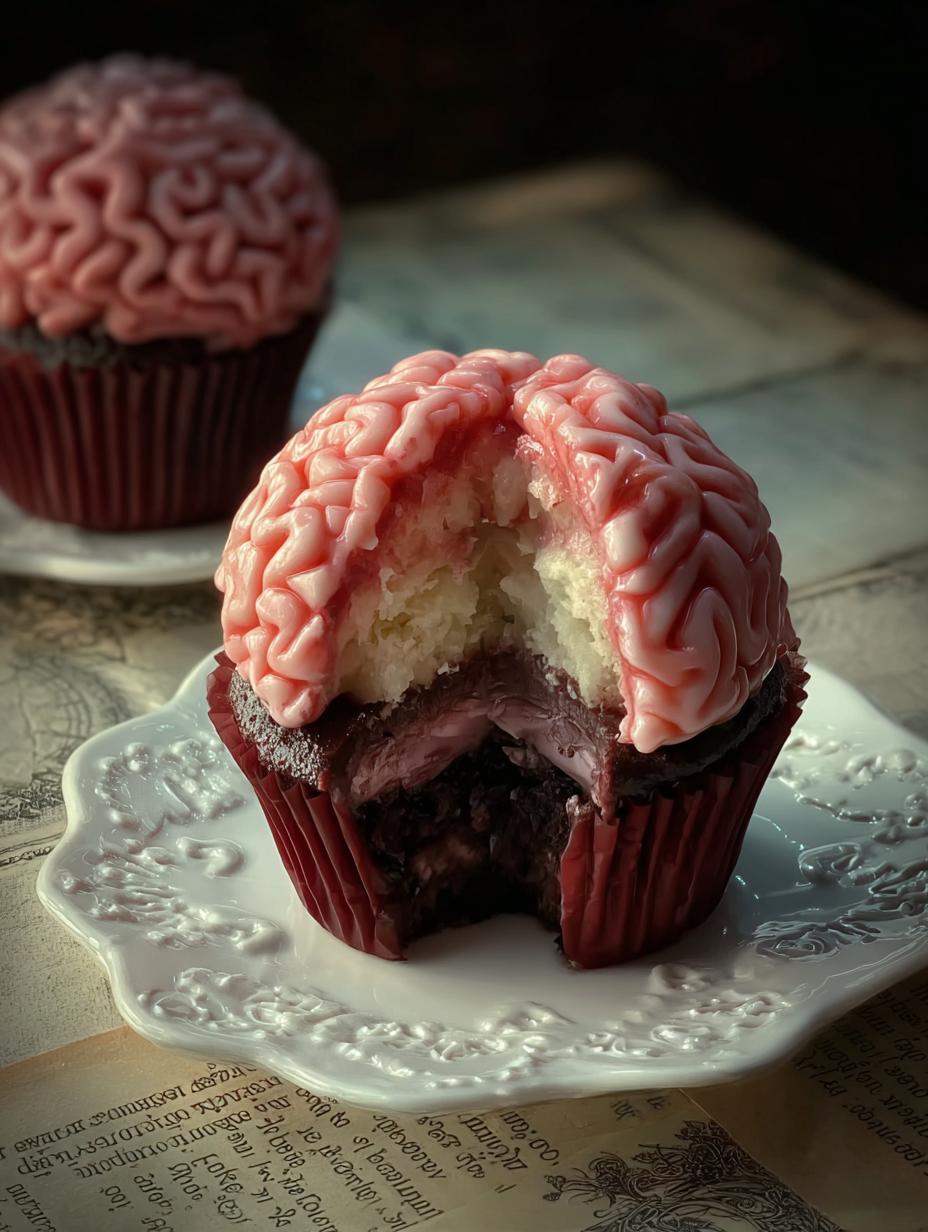
Halloween Brain Cupcake has been my go-to spooky treat ever since I first saw them at a Halloween party years ago. The realistic, slightly gory look is so impressive, but I was surprised to find out how simple they are to make! Imagine your guests’ delighted shrieks when they see these gruesome goodies. They’re perfect for any Halloween gathering, from a classroom party to a neighborhood get-together. I’ve even found that decorating them can be a fun activity with kids, almost as enjoyable as making those adorable mini cheeseburger tater tot bites for a savory contrast. Let’s get baking (and decorating)!
Why You’ll Love This Halloween Brain Cupcake
You’re going to adore making and serving these incredibly fun Halloween Brain Cupcakes! They’re a guaranteed hit and surprisingly simple.
- Impressive Visuals: They look startlingly realistic, making them a showstopper for any Halloween party.
- Easy to Make: The decorating process is straightforward, perfect even for beginner bakers.
- Kid-Friendly Activity: Get the little ones involved in piping the brains and adding the “blood” – it’s a blast!
- Customizable Sweetness: Adjust the frosting and glaze to your exact preference.
- Versatile for Parties: Whether it’s a school event or a grown-up bash, these fit right in.
- Quick Assembly: You can whip up a batch relatively fast, making them ideal for last-minute needs.
- Savory Contrast: Pair them with something like mini cheeseburger tater tot bites for a delightful sweet and savory spread.
- Spooky Fun: They bring genuine Halloween spirit and a touch of gore that everyone loves.
Ingredients for Halloween Brain Cupcake
Gathering these simple items is the first step to creating your spooky, edible masterpieces. You’ll need a base for your brains and the key components for that gruesome, realistic look. Think of these as the building blocks, much like you’d gather ingredients for easy mini tater tot cheeseburgers.
- 12 pre-baked vanilla or strawberry cupcakes – Use your favorite recipe or store-bought ones for speed.
- 1 cup unsalted butter, softened – This is the base for our realistic brain frosting.
- 3-4 cups powdered sugar – For sweetness and that perfect pipeable frosting consistency.
- 1 tsp vanilla extract – Adds a classic sweet flavor to the buttercream.
- Pinch of salt – Balances the sweetness of the frosting.
- 1-2 tbsp milk or cream – To achieve the ideal frosting texture.
- Gel colors: pink, warm brown or ivory – Essential for tinting the buttercream to a realistic brain hue.
- Raspberry jam, coulis, or red gel – This creates the gory “blood” effect, adding a touch of tartness. You could also mix corn syrup with cocoa powder for a darker, blood-like glaze.
How to Make Halloween Brain Cupcake
Creating these spooky delights is easier than you might think! You’ll be amazed at how quickly you can transform simple cupcakes into gruesome, edible brains. It’s a fun process, much like assembling those delicious mini cheeseburger tater tot bites, and the results are always a showstopper.
- Step 1: First, let’s get our frosting colored. Tint your softened butter-based buttercream a light pink. To achieve a more realistic brain color, add just a drop or two of warm brown or ivory gel coloring. You’re aiming for a muted, organic shade, not a bubblegum pink.
- Step 2: Once your cupcakes have completely cooled – this is important to prevent melting! – spread a thin, even base coat of the pink buttercream over each one. Using the back of a spatula or a butter knife, score a shallow line down the center of each cupcake. This line will be the dividing groove for our brain hemispheres.

- Step 3: Now for the fun part! Fit a piping bag with a large round tip (a #10 or #12 works perfectly). Start piping one long, squiggly line on one side of the center groove. Repeat on the other side, embracing irregular loops and curves. Don’t aim for perfection; real brains are wonderfully imperfect!
- Step 4: Build up the brain texture by adding a second layer of squiggles on top of the first. Overlap them slightly and let them curl naturally. This adds volume and makes the brains look more three-dimensional. You’ll see them coming to life!

- Step 5: Once your brain shapes are piped, pop the cupcakes into the refrigerator for about 5 minutes. This helps the buttercream set slightly, preventing the “blood” from running too much.
- Step 6: After chilling, carefully spoon your raspberry jam, red gel, or a homemade “blood” mixture (like corn syrup and cocoa powder) into the crevices and grooves of the piped brains. Let it ooze slightly for that truly gruesome, gory effect. Serve these creepy creations soon after, just like you would serve up those tasty tater tot cheeseburger sliders recipe creations immediately after assembly!
Pro Tips for the Best Halloween Brain Cupcake
Want to make your Halloween Brain Cupcakes extra special? I’ve picked up a few tricks over the years that really elevate them from fun to fantastic. These tips will help you nail that perfect, spooky look!
- Mute Your Pink: Don’t be afraid to add a tiny bit of brown or ivory gel color to your pink frosting. It makes the “brain” look so much more realistic and less like candy.
- Chill is Key: A quick chill in the freezer (just 5 minutes!) before adding the “blood” glaze is crucial. It helps the jam or gel set and prevents it from just sliding off the buttercream.
- Embrace Imperfection: Real brains aren’t perfectly smooth! Don’t stress about making your piped squiggles identical. Irregular loops and varying sizes make them look more authentic and creepy.
- Prepare Your “Blood”: Have your raspberry jam or red gel ready to go. If you’re making a corn syrup-based “blood,” mix it up beforehand so it’s ready for immediate application.
What’s the secret to perfect Halloween Brain Cupcake?
The secret lies in two things: achieving a realistic brain color by muting the pink frosting and chilling the cupcakes briefly before adding the gory “blood” glaze for that perfect, unsettling ooze. For more baking tips, check out our recipes section.
Can I make Halloween Brain Cupcake ahead of time?
Yes! You can bake and frost the cupcakes a day in advance. Store them in an airtight container in the refrigerator. Add the raspberry “blood” glaze right before serving to keep it fresh and vibrant.
How do I avoid common mistakes with Halloween Brain Cupcake?
A common pitfall is using frosting that’s too soft, causing the brains to melt or the glaze to run excessively. Also, ensure your cupcakes are completely cool before frosting to prevent the base layer from melting. For more information on baking techniques, you can explore resources on ingredient substitution.
Best Ways to Serve Halloween Brain Cupcake
These creepy cupcakes are fantastic on their own, but they also shine when paired with other treats for the ultimate Halloween spread. Imagine a dessert table filled with these gory brains alongside some savory bites – it’s a party planner’s dream! They’re a perfect sweet counterpoint to something like mini cheeseburger tater tot bites, offering a delightful contrast for your guests.
For a truly spooky presentation, arrange them on a dark platter or a tiered stand. You can even add a few plastic spiders or gummy worms around the base for an extra fright. Serve them after dinner as a memorable dessert, or have them available for guests to grab throughout the party. They’re also a fantastic addition to a Halloween-themed bake sale or potluck! Learn more about hosting events on our about page.
Nutrition Facts for Halloween Brain Cupcake
Creating these spooky delights comes with a sweet reward! Here’s a breakdown of what you can expect in each eerily delicious Halloween Brain Cupcake.
- Serving Size: 1 cupcake
- Calories: 380
- Fat: 18g
- Saturated Fat: 11g
- Unsaturated Fat: 6g
- Trans Fat: 0g
- Carbohydrates: 52g
- Fiber: 1g
- Sugar: 42g
- Protein: 3g
- Cholesterol: 55mg
- Sodium: 180mg
Nutritional values are estimates and may vary based on the specific ingredients and brands you use for your Halloween Brain Cupcake.
How to Store and Reheat Halloween Brain Cupcake
Once your creepy creations are ready, you’ll want to know the best way to keep them looking their gruesome best. Proper storage is key to maintaining that freshly frosted, gory look, much like how you’d store mini cheeseburger tater tot bites to keep them fresh. Make sure your cupcakes are completely cool before storing them. For immediate enjoyment or parties within a few days, place them in an airtight container. They’ll stay fresh in the refrigerator for about 3 to 4 days.
If you’re planning further ahead, these frightful treats freeze beautifully! Once frosted and chilled (this helps the frosting set), wrap each cupcake individually in plastic wrap, then place them in a freezer-safe container or bag. They can be frozen for up to 3 months. When you’re ready to serve, thaw them overnight in the refrigerator. For the best visual appeal, it’s often recommended to add the raspberry “blood” glaze just before serving, especially if you’ve opted for a corn syrup mixture, to ensure it looks perfectly gruesome.
Frequently Asked Questions About Halloween Brain Cupcake
Can I use a different frosting for these Halloween Brain Cupcakes?
Absolutely! While a buttercream is ideal for piping those brain folds, you could experiment with cream cheese frosting for a tangier flavor. Just ensure it’s stiff enough to hold its shape. Think of it like finding the best base for your mini cheeseburger tater tot bites – the foundation matters!
What’s the best way to get the “blood” effect just right?
For that perfect gory ooze, chilling the frosted cupcakes for about 5-10 minutes before applying the jam or gel is key. This helps the frosting firm up. You can also use a piping bag with a small tip to control the flow of your raspberry coulis or red gel, guiding it into the brain crevices just like you might carefully assemble small cheeseburger tater tot bites.
Can I make the cupcakes and frosting ahead of time for Halloween Brain Cupcakes?
Yes, you can definitely prepare components in advance! Bake the cupcakes and store them in an airtight container at room temperature for up to two days. The pink buttercream can also be made ahead and refrigerated, but you might need to re-whip it slightly to restore its creamy texture before piping. Remember to frost and glaze them closer to serving for the freshest appearance. For more details on party planning, visit our contact us page.
Are there any flavor variations for these Halloween Brain Cupcakes?
You can certainly play with flavors! While vanilla and strawberry are classic, consider a red velvet cupcake for an extra spooky interior or a chocolate cupcake for a darker theme. The brain frosting can also be subtly flavored with a hint of almond extract instead of vanilla, offering a different twist similar to how you might vary toppings on miniature cheeseburger tater tot appetizers.
Variations of Halloween Brain Cupcake You Can Try
While the classic pink brain cupcake is a spooky sensation, don’t be afraid to get creative! There are so many fun ways to adapt this recipe to fit your taste or dietary needs. These variations are almost as fun to think about as planning a party menu with delicious mini cheeseburger tater tot bites.
- Chocolate Brains: Swap the vanilla or strawberry cupcakes for your favorite chocolate cake recipe. Use a chocolate buttercream, tinted with a bit of red and brown gel, for a darker, more mysterious brain.
- Red Velvet Surprise: Bake red velvet cupcakes for an extra gory surprise when guests take a bite. The vibrant red interior pairs perfectly with the pink brain frosting and raspberry “blood.”
- Vegan Brains: Easily make these vegan by using a plant-based cupcake recipe and a vegan buttercream made with vegan butter and plant milk. The decorating process remains the same!
- Flavor Infusions: Experiment with different extracts in your buttercream, like a hint of almond or even a touch of peppermint for a chilling effect. This is similar to how you might explore different flavor profiles for something like savory mini tater tot cheeseburger bites.

Halloween Brain Cupcake: Creepy & Easy Recipe
- Total Time: 20 minutes
- Yield: 12 cupcakes 1x
- Diet: Vegetarian
Description
Create spooky and fun Halloween Brain Cupcakes with this easy 5-step recipe. Perfect for parties, these cupcakes feature realistic pink buttercream brains and a gory raspberry “blood” glaze.
Ingredients
- 12 vanilla or strawberry cupcakes
- 1 cup unsalted butter
- 3–4 cups powdered sugar
- 1 tsp vanilla extract
- Pinch of salt
- 1–2 tbsp milk or cream
- Gel colors: pink, warm brown or ivory
- Raspberry jam, coulis, or red gel (or mix corn syrup + cocoa for “blood”)
Instructions
- Tint buttercream light pink; add a drop of warm brown or ivory to mute the tone.
- Spread a thin base coat of pink buttercream over cooled cupcakes. Score a shallow center line with a spatula to divide the “brain.”
- Fit a piping bag with a round tip (#10-12) and pipe one long squiggle on each side of the center line to create the brain folds.
- Add a second layer of squiggles on top for more volume, embracing irregular loops for a natural effect. Chill the cupcakes for 5 minutes to set the frosting.
- Spoon raspberry jam, red gel, or your “blood” mixture into the crevices for a gory effect.
- Serve soon after decorating for the freshest look.
Notes
- For oozing centers, core the cupcakes and fill with jam before frosting.
- Freeze for 5 minutes before glazing to minimize run-off.
- Store up to 5 days in the refrigerator; add the glaze on the day of serving.
- Prep Time: 20 minutes
- Cook Time: 0 minutes
- Category: Dessert
- Method: No-bake decoration
- Cuisine: American
Nutrition
- Serving Size: 1 cupcake
- Calories: 380
- Sugar: 42 g
- Sodium: 180 mg
- Fat: 18 g
- Saturated Fat: 11 g
- Unsaturated Fat: 6 g
- Trans Fat: 0 g
- Carbohydrates: 52 g
- Fiber: 1 g
- Protein: 3 g
- Cholesterol: 55 mg
